
I am way overdue on posting my DIY night stands from when I made my own furniture in May! I’ve been using them for almost two months now, and I every time I get to tell someone “I made these” I feel so accomplished and proud.
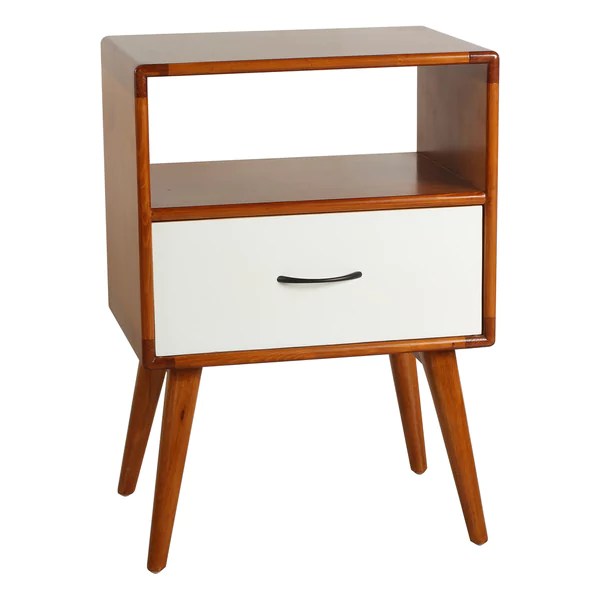
For the design of my night stands, I was inspired by this mid-century side table I found on Overstock. I like the look of the single drawer and open shelf.
I also took inspiration from two of favorite DIY women, The Sorry Girls. They also built their own mid-century modern night stands, you may want to check out their video for a detailed how-to.
For the build, I used the same piece of red oak veneer plywood (4′ x 8′ sheet of ¾″ ) from Home Depot that I used in my DIY bench. I used MaxCut to plan all of my cuts since I was cutting wood for five projects out of one sheet. My dad is great with power tools and has years of experience building and cutting, and I was lucky that he helped me. If you have a friend or relative that can help you cut the wood, get their help! Power tools are dangerous so it is best to get someone who knows what they are doing.
Because the wood I bought had a thin veneer, I used a fine tooth blade to cut the wood. A blade with big teeth will rip the wood and give you a bad cut. I also used blue tape on any cross grain cuts (perpendicular to the grain) to prevent splintering. For some great tips and information on cutting wood, tools and project ideas check out Steve Ramsey.
These are the measurements for the wood panels needed for each night stand:
- Top/bottom: 14 ½” x 13″ (cut 2)
- Sides: 13″ x 12 ¾” (cut 2)
- Shelf: 13″ x 13″ (cut 1)
I used clamps and 1 ¼” screws to assemble the night stands. I tried to counter-sink the screws, but I was impatient and messed it up. I filled in the screw heads with wood putty and lightly sanded everything with a 220 grit sand paper. I added an iron-on veneer banding to finish the edges to hide the plywood layers.

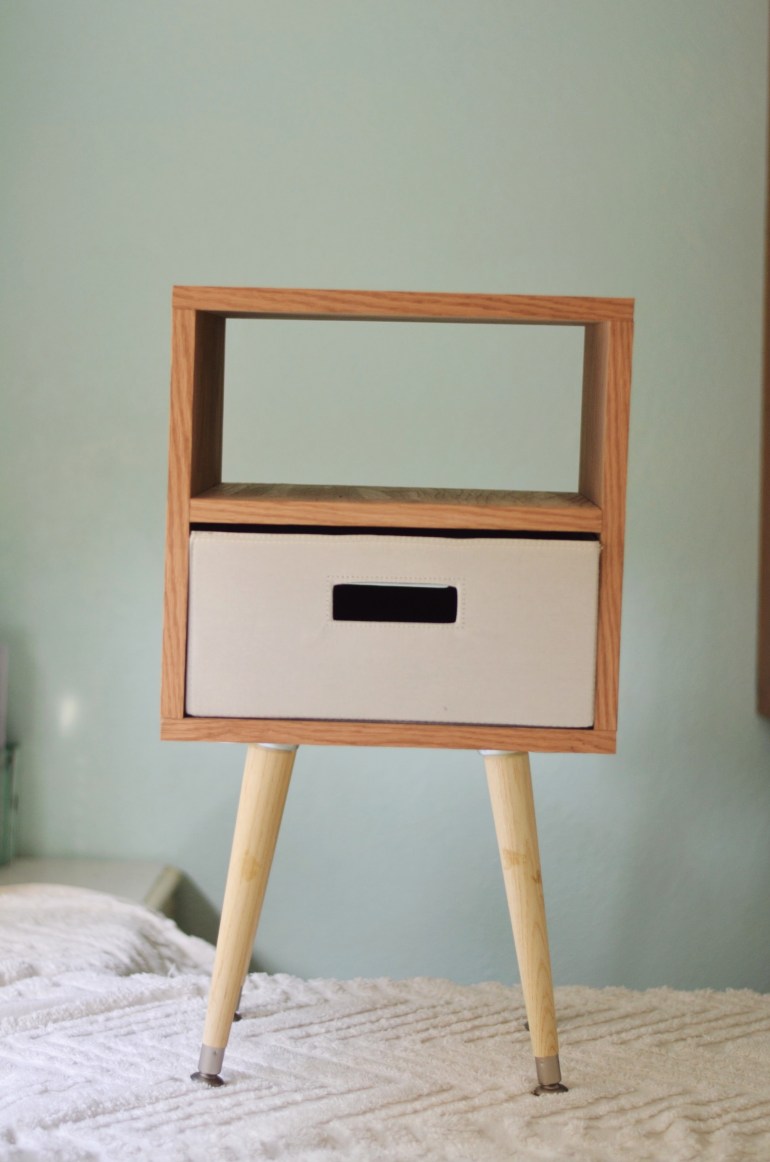
I used the same legs & plates from home depot that I used on my vanity stool. They are simple to install and are the perfect mid century look. I like that the legs can be angled or straight.
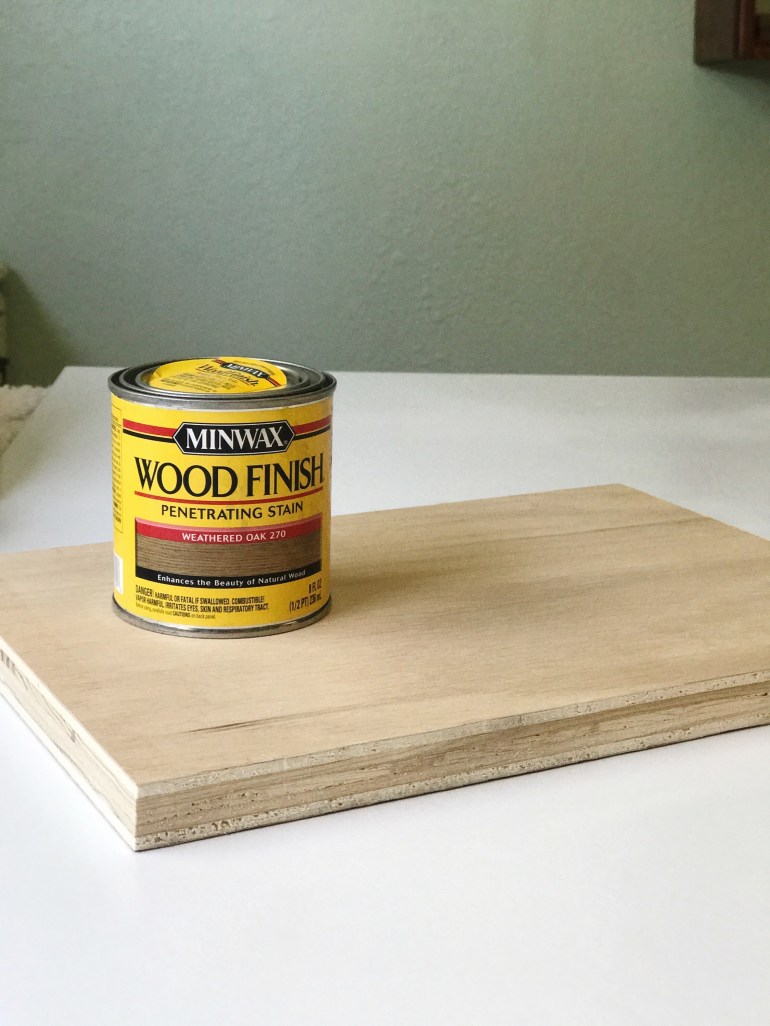
Once you have your banding and legs on, stain & seal the wood. I used Minwax stain in the color Weathered Oak for the night stands. I sealed them with two coats of MinWax Clear Satin Polyurethane. Follow the instructions on your stain and polyurethane for proper application and drying time. I decided not to stain the wood legs because I plan to paint them white, I just haven’t gotten there yet.
I purposely built my night stands so that this drawer from target would fit perfectly. I didn’t think I could make my own drawers so this was the next best option.

What do you think? Are you still loving the mid-century modern trend? Let me know in the comments!

