I finally finished my first major sewing project! It only took me 4 months to complete, and here we are!

I started following Self Assembly Required (Emily) and saw her Instagram post of the Cynthia Rowley 1366 pattern, and I was so determined to make my own. I loved how hers looked so I picked up a very light denim and the pattern.
This was my first time sewing to a pattern, so I had a steep learning curve. First off, I had no clue that pattern sizes were different from clothes sizes, so I had to return the original size I bought and get the next one up.
This video helped me a lot in learning about my pattern, and it’s definitely worth your 40 minutes of time if you want to do well.
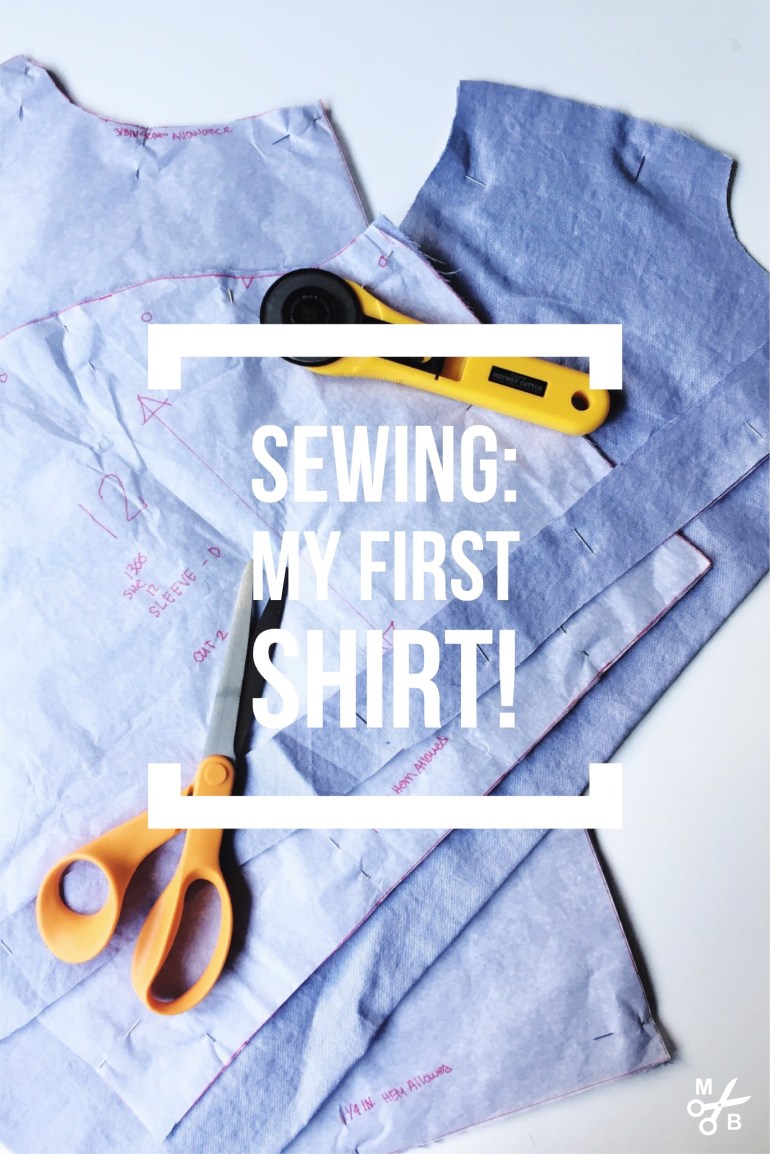
To prep, I pre-washed my fabric and traced my pattern size onto tissue paper so I could keep the original tissue complete.
After I cut my fabric, I thought I had already messed up. The back piece was longer than the front by a few inches. I almost trimmed it but luckily I didn’t, because it turns out the “extra” length was for the give in the shoulders. It wasn’t until I had my sleeves sewn on that I realized this.
The hardest part was pinning the arms on and sewing them. Trying to manipulate two pieces of fabric with opposite angles into a circle was so frustrating. I think each arm took 15 minutes just to pin! But I stayed patient and eventually figured it out. The dots on the pattern to line up your fabric really are important, so remember to make those marks.
The most confusing part for me was the neck. I didn’t look up some of the terms (Understitch) and just thought what I was doing was right….it wasn’t. Luckily before I ruined it too much, I found this helpful video that clearly shows how to sew an understitch. Seriously saved my shirt from disaster:
From there it was pretty smooth sailing! I added an extra few inches to the bottom of my shirt just as Emily had done for hers. I will definitely be using this pattern again, but next time i’ll make the sleeves a little shorter.
If you’re a sewer, what was your first pattern?