
I finally have a DIY to share with you! I am very happy with how it turned out and it’s a gift! I was inspired by this DIY play mat from A Beautiful Mess to make one for my friend.
For this project you will need:
- 1 yard printed fabric (side a)
- 1 yard printed fabric (side b)
- 1 yard cotton batting
- 2 packages of double fold bias tape]
- circular object for template
- ruler
- washable sewing chalk or marker
- thread
- sewing machine
- pins or sewing clips

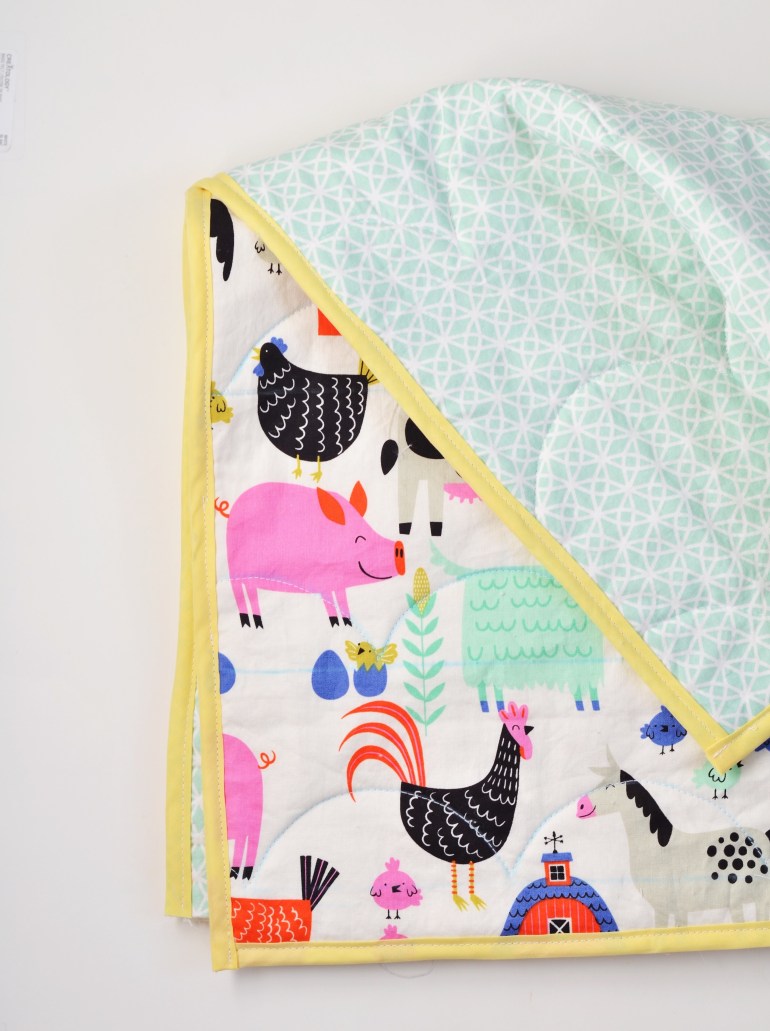
I used this fun and colorful Alexander Henry farm print and mint prism fabric. I found both of these fabrics at my local Joann Fabrics, but they don’t seem to be in stock online. I used a prepacked cotton batting and folded it over to double the thickness of the mat. I pre-washed my fabrics, but not my batting. The original batting I bought for this project actually shredded in the wash when I pre-washed it, so I bought a new one an opted not to wash it. It has held up well fine being washed after assembly. I probably should have pre-washed my bias tape but I didn’t think of it. It definitely shrunk a little in the wash. Have you pre-washed bias tape?
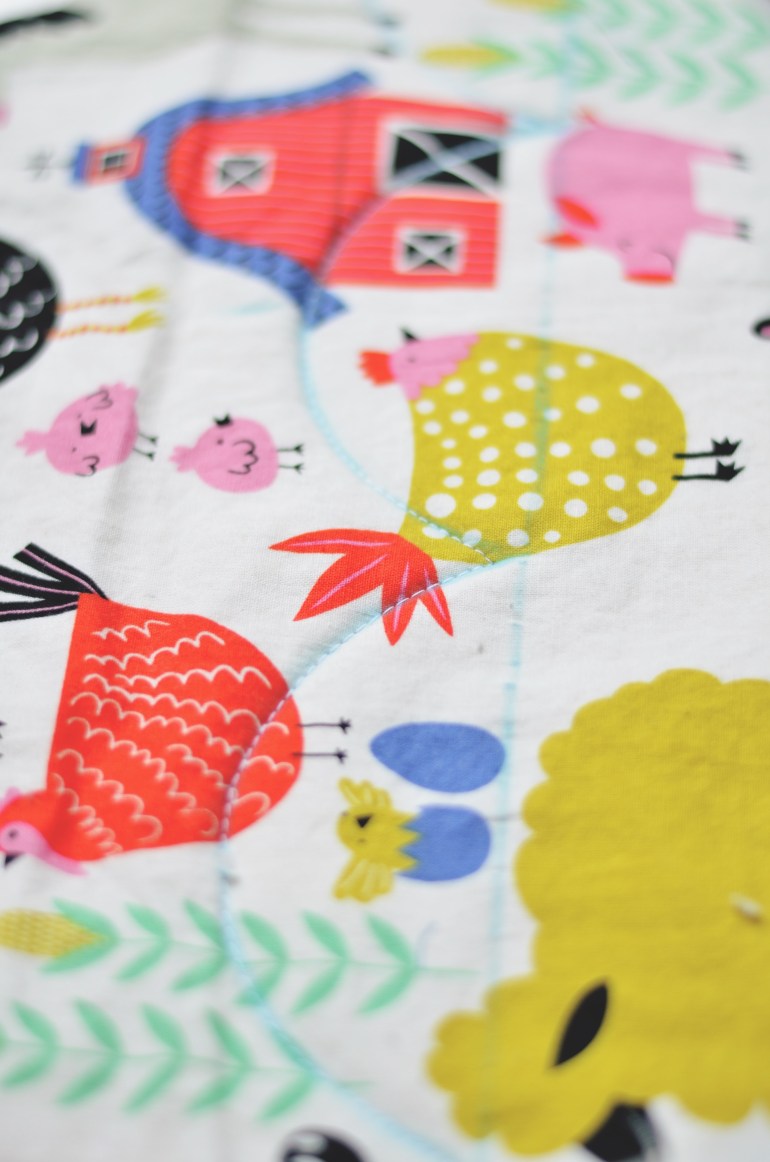
I lined my fabrics up to create a sandwich with side b facing down, two layers of batting in the middle, side a facing up, and pinned everything together along the edges. I wanted to make a circular quilted look, but I didn’t have the patience to make perfect circles. Instead I went for a scalloped look, which I think turned out great.
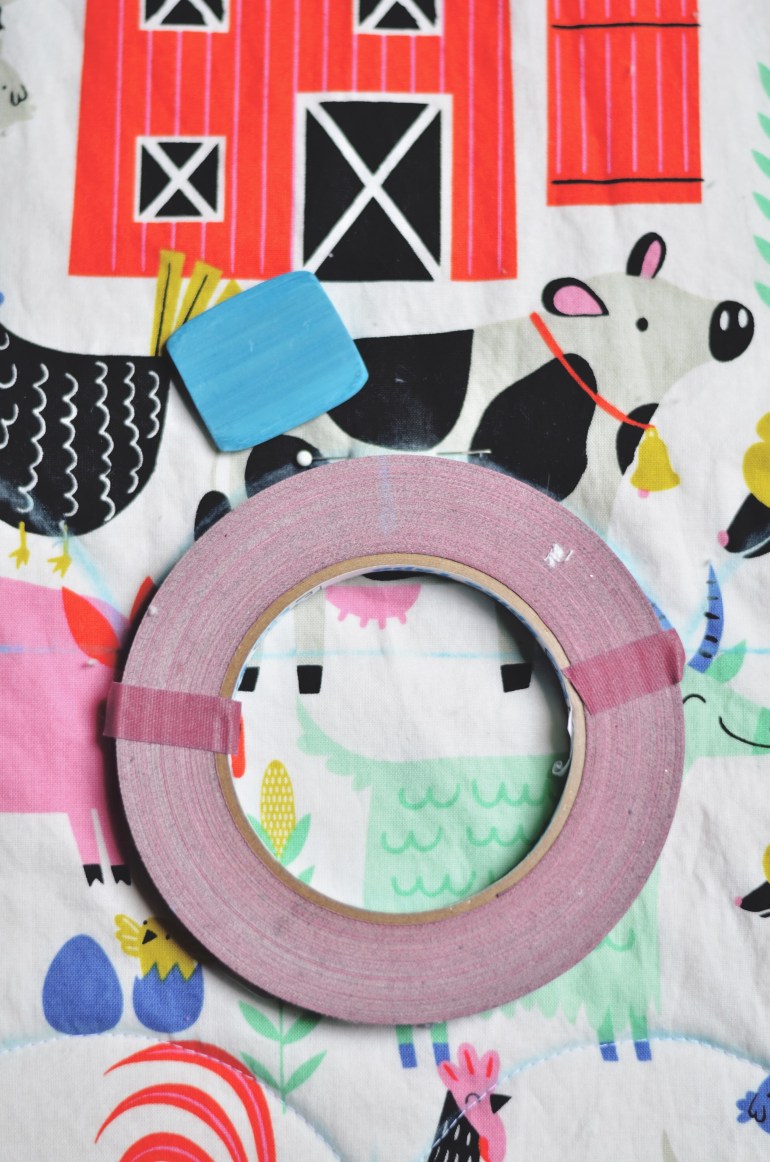
Use a ruler and something circular to create a scalloped pattern. I used a roll of tape and used about 1/3 of the ring for the scallop. Make sure to test your chalk or maker on a corner of your fabric to make sure it will wash out easily. I didn’t check and ended up having to scrub and wash this 3 times before my blue chalk came out. Pin along the pattern.
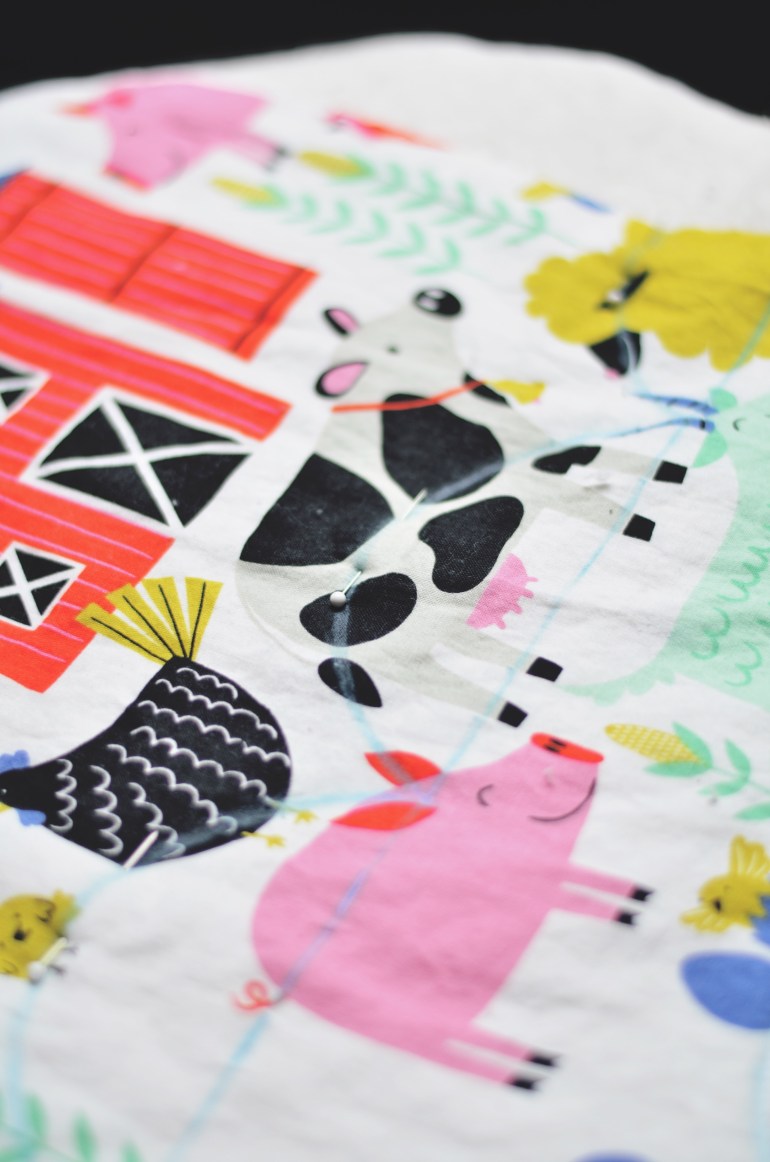
Sew along the scalloped design. At the end/start of a new scallop, stick the needle into the fabric, raise the foot and turn the fabric. I used a 3.5 stitch length for this blanket.
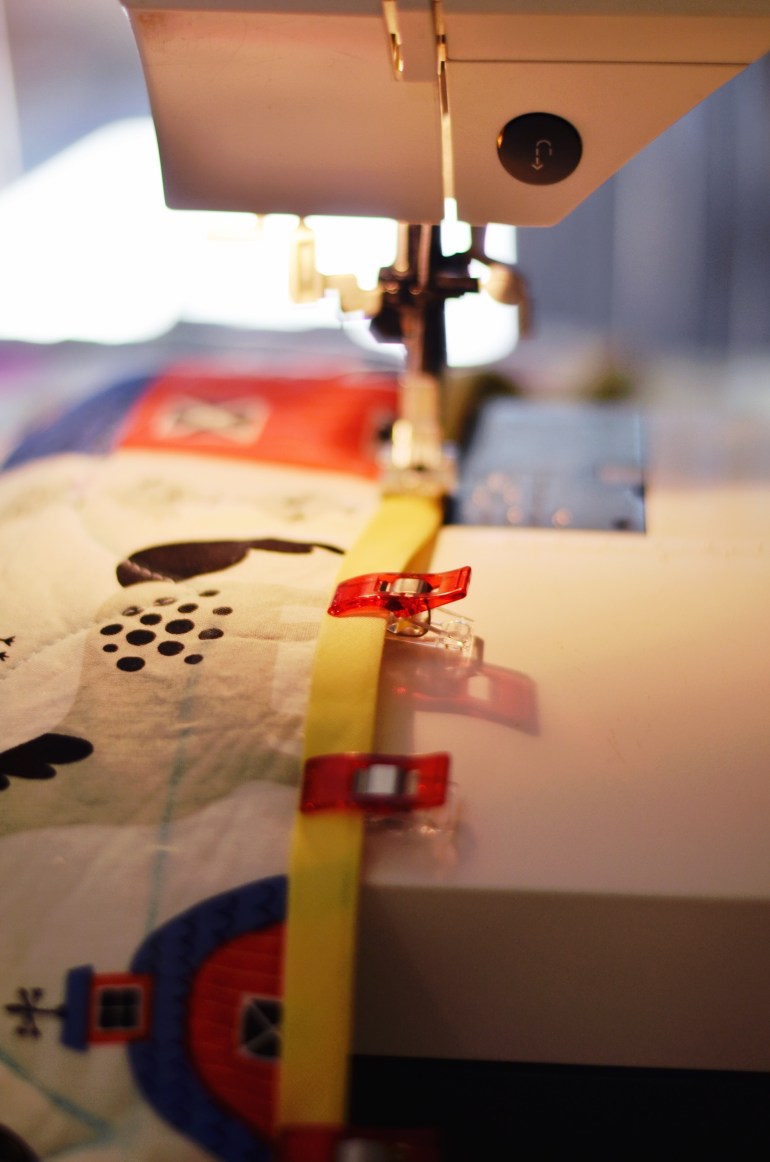
Once you complete the ‘quilting’ trim the excess fabric not to be included in the quilt and pin your bias tape along the edge. The final size of the mat is about 42″ x 30″. Sandwich all four layers between the bias tape and secure. I ended up using sewing clips so I could clearly see if my top and bottom tape was matching up. You will want to sew as close to the inside edge of the tape as possible while piercing through both the top and bottom pieces of tape.
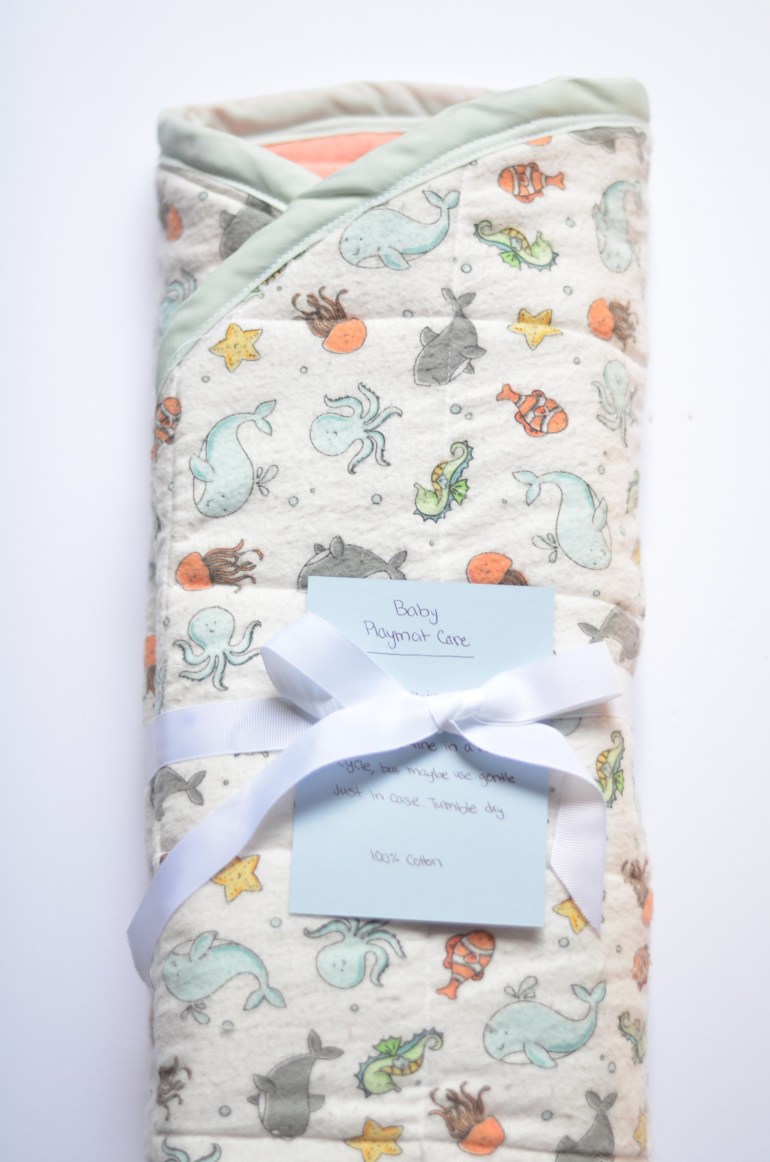
Tuck the edges in at the corners to cover all raw edges and snip away any lose threads. You’re done!

I think this fabric is so fun and perfect for a baby girl or boy. I also made a round mat but with a flannel fabric. I didn’t like how that one turned out as much once I washed the fabric.
To gift, I simply wrote up an instructions card for care and tied it up with a ribbon!
This project was pretty simple and makes a great gift for family or friends.
