
I love a good enamel pin, but sometimes there just isn’t that perfect pin that you want. Shrink paper is the perfect way around that! I wanted to make these pins for the Women’s March, but I bought the wrong shrink paper at that time, so it just didn’t work. So instead, here’s a few emoji pins to go along with the pins I wanted to make for the Women’s March.
Supplies
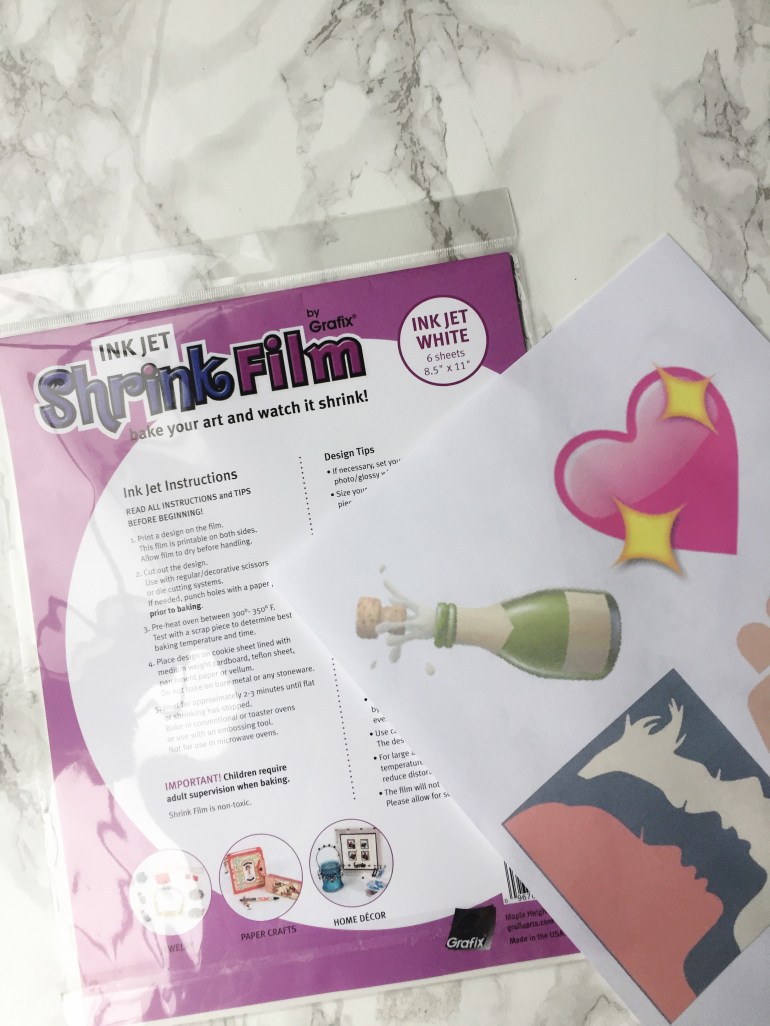
- Ink Jet Shrink Paper
- Google Docs or other document processor
- Printer
- Scissors
- Oven/Toaster Oven
- Clear Enamel Spray
- Glue
- Pin
Find images in the internet you’d like to turn into pins and place them into a google doc. Your shrink paper will tell you how much it shrinks by – size the images appropriately depending on what size you’d like your pin. The paper I used (linked above) shrinks approximately 50%, so I made my images twice the size of my desired pin size.
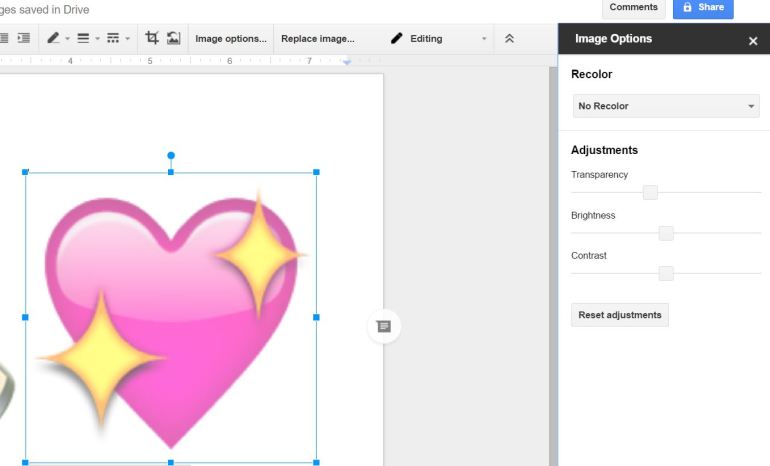
Right click the image and select “image options”. Adjust the transparency to at least 50%. I used 50% on all of mine, but some could have gone up to 60%. Fit as many designs on one sheet of shrink paper as possible to get the full use from one sheet. Load your printer with the shrink paper, and print! You may need to change your printer settings to photo paper for better quality.
Allow printed design to dry, then cut out with scissors. If you have a complicated design, you can also use a craft knife.
Follow the instructions on your shrink paper to “cook” your design. I preheated my toaster oven for 2 minutes, then placed one design on a piece of parchment paper. It only took about 30 seconds for the design to heat and shrink all the way. Use an oven-mitt and a spatula to remove the hot design and set aside to cool. You can do yours more than one at a time, but I was worried about the designs folding into each other.

Once cooled, spray your design with clear enamel spray to make the print last longer. You can also use clear nail polish if you’re in a hurry. Once the clear coat is dry, use strong glue to secure your pin back. I recommend E6000 for any craft the requires a sturdy bond. Allow glue to dry a few hours and you’re ready to rock your new pin!

What do you think about these DIY pins? Not as sturdy as real enamel pins, but you can make your own designs and add colorful nail polish for a unique pin!

What other emojis would be fun to make?
