
Happy Friday!
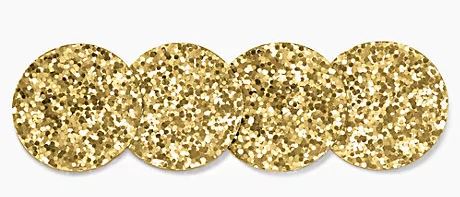
We all need a little glitter in our lives, but sometimes it can come at a cost. I’ve had my eyes on these gorgeous glitter coasters from Kate Spade, but I really couldn’t see myself shelling out $30 for some coaster I could probably make myself. Using the same method as my googly eye coaster I created this glittered coaster for much cheaper.
Supplies:
Glitter of your choice
2-part epoxy resin
Disposable containers
Popsicle stick
4-inch circular mold
Blow dryer
I used water to determine how much resin I needed by filling the mold with water to my desired thickness, then I measured how much water I used. You can also just eye-ball how much you’ll need and if you have extra, just make a second one! Mix the correct amount of resin following the instructions included. This video tutorial is a great start if you’re unsure about mixing the resin.
You will be making your coaster upside down and in two layers. Pour a thin layer of resin in your mold and lightly blow dry to remove air bubbles. Now add glitter to your cup of resin and mix it in well. The more you add, the more glitter there will be! Remember that the glitter increases the volume of your resin mixture. I mixed too much resign and too much glitter so my coaster was very thick since I only poured one. Pour your glitter and resin mixture into the mold. Blog dry again until air bubbles are gone. You will have a lot of air bubbles from mixing in the glitter. Cover the mold with a piece of paper or cloth to prevent dust from settling on the wet resin. Allow to cure for 24 hours. If you want a coaster that has no air bubbles on top, you can let the first layer cure before adding the glittered layer.
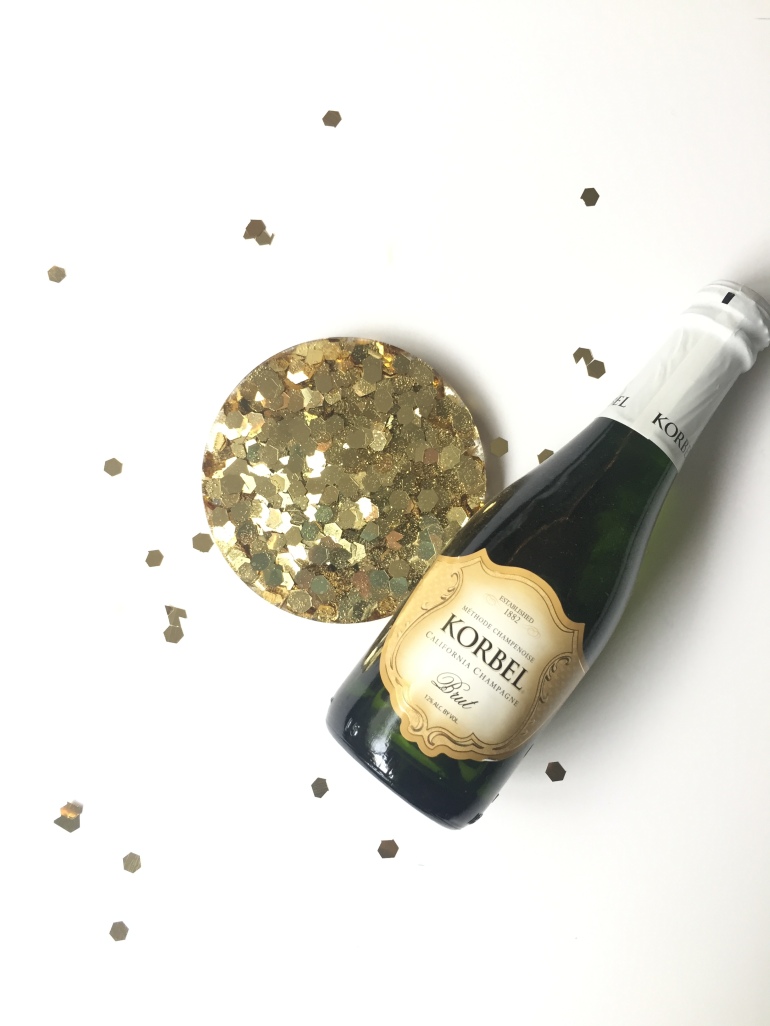
Once fully cured, remove from mold and enjoy!
My coaster is a little thick for what I wanted, but it is still glittery and perfect.
What do you think about my Kate Spade dupe? Share a picture if you create your own!

Looks beautiful!
LikeLike